MRT Mail/P.O. Box Setup
Jump to navigation
Jump to search
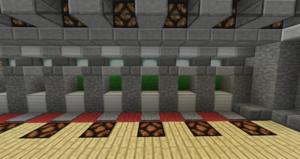
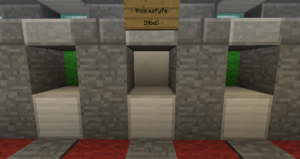
P.O. Boxes are the main service of MRT Mail consisting of a double chest which is linked in to the other MRT Mail Services. Following the 2016 MRT Mail Update, players who are Citizen or above can now claim and set up their own P.O. Boxes within the MRT Mail Hub. To get started, find an unclaimed P.O. Box, these are boxes marked with lime green wool.
In order to fully claim and setup your P.O. Box for use, please follow each and every step:
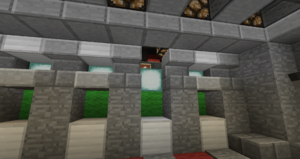
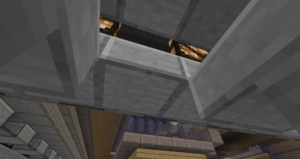
- Remove the iron block directly above the P.O. Box, this allows access into the setup area.
- Optionally remove the slab block directly above the P.O. box for more spacious access.
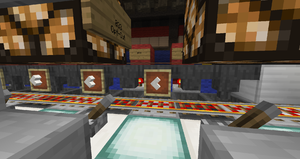
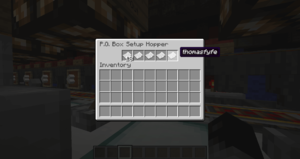
- Access the setup hopper (the arrow sign points to the side which you should be editing) and retrieve all the stacks of paper.
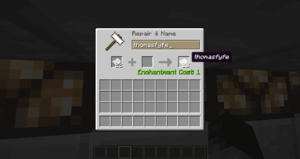
- Using an anvil, rename the paper to your name.
- Do not re-name already named paper (otherwise the Mail-To system will not work).
- Use lowercase only.
- Add renamed piece of paper to the setup hopper - 18 in first slot and 1 in every other slot.
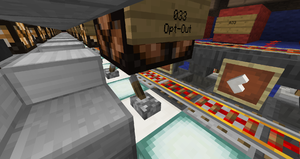
- De-activate the Opt-Out lever (redstone lamp turns off) so that you can receive Mass Distributed mail.
- Alternatively, ignore the Opt-Out lever (redstone lamp turns on) so that you can opt-out from receiving mail through the Mass Distribution System.
- Ensure you only toggle the lever associated with your P.O. Box and not your neighbour's, the arrow sign in line with your P.O. Box chest will point to the side which you should be editing.
- Replace the iron access block.
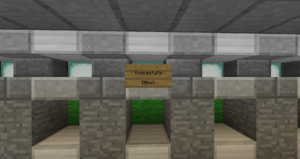
- Place a sign above your P.O. Box.
- Name on 2nd line.
- Rank on 4th line.
- Finally, change lime green wool to quartz.
Please note, boxes which are not setup correctly may be reset.
Important: Your P.O. Box may be reset without warning if you are inactive from the server for a period of over 3 months.
